End of Life for CentOS 7: CentOS 7 has reached its end-of-life phase, meaning it no longer receives full updates or support. This leaves servers running CentOS 7 vulnerable to security risks and incompatibility with newer software.
Why AlmaLinux?: AlmaLinux is a community-driven, enterprise-grade Linux distribution that is fully compatible with Red Hat Enterprise Linux (RHEL). It has become a popular choice for those migrating from CentOS due to its stability, long-term support, and active community.
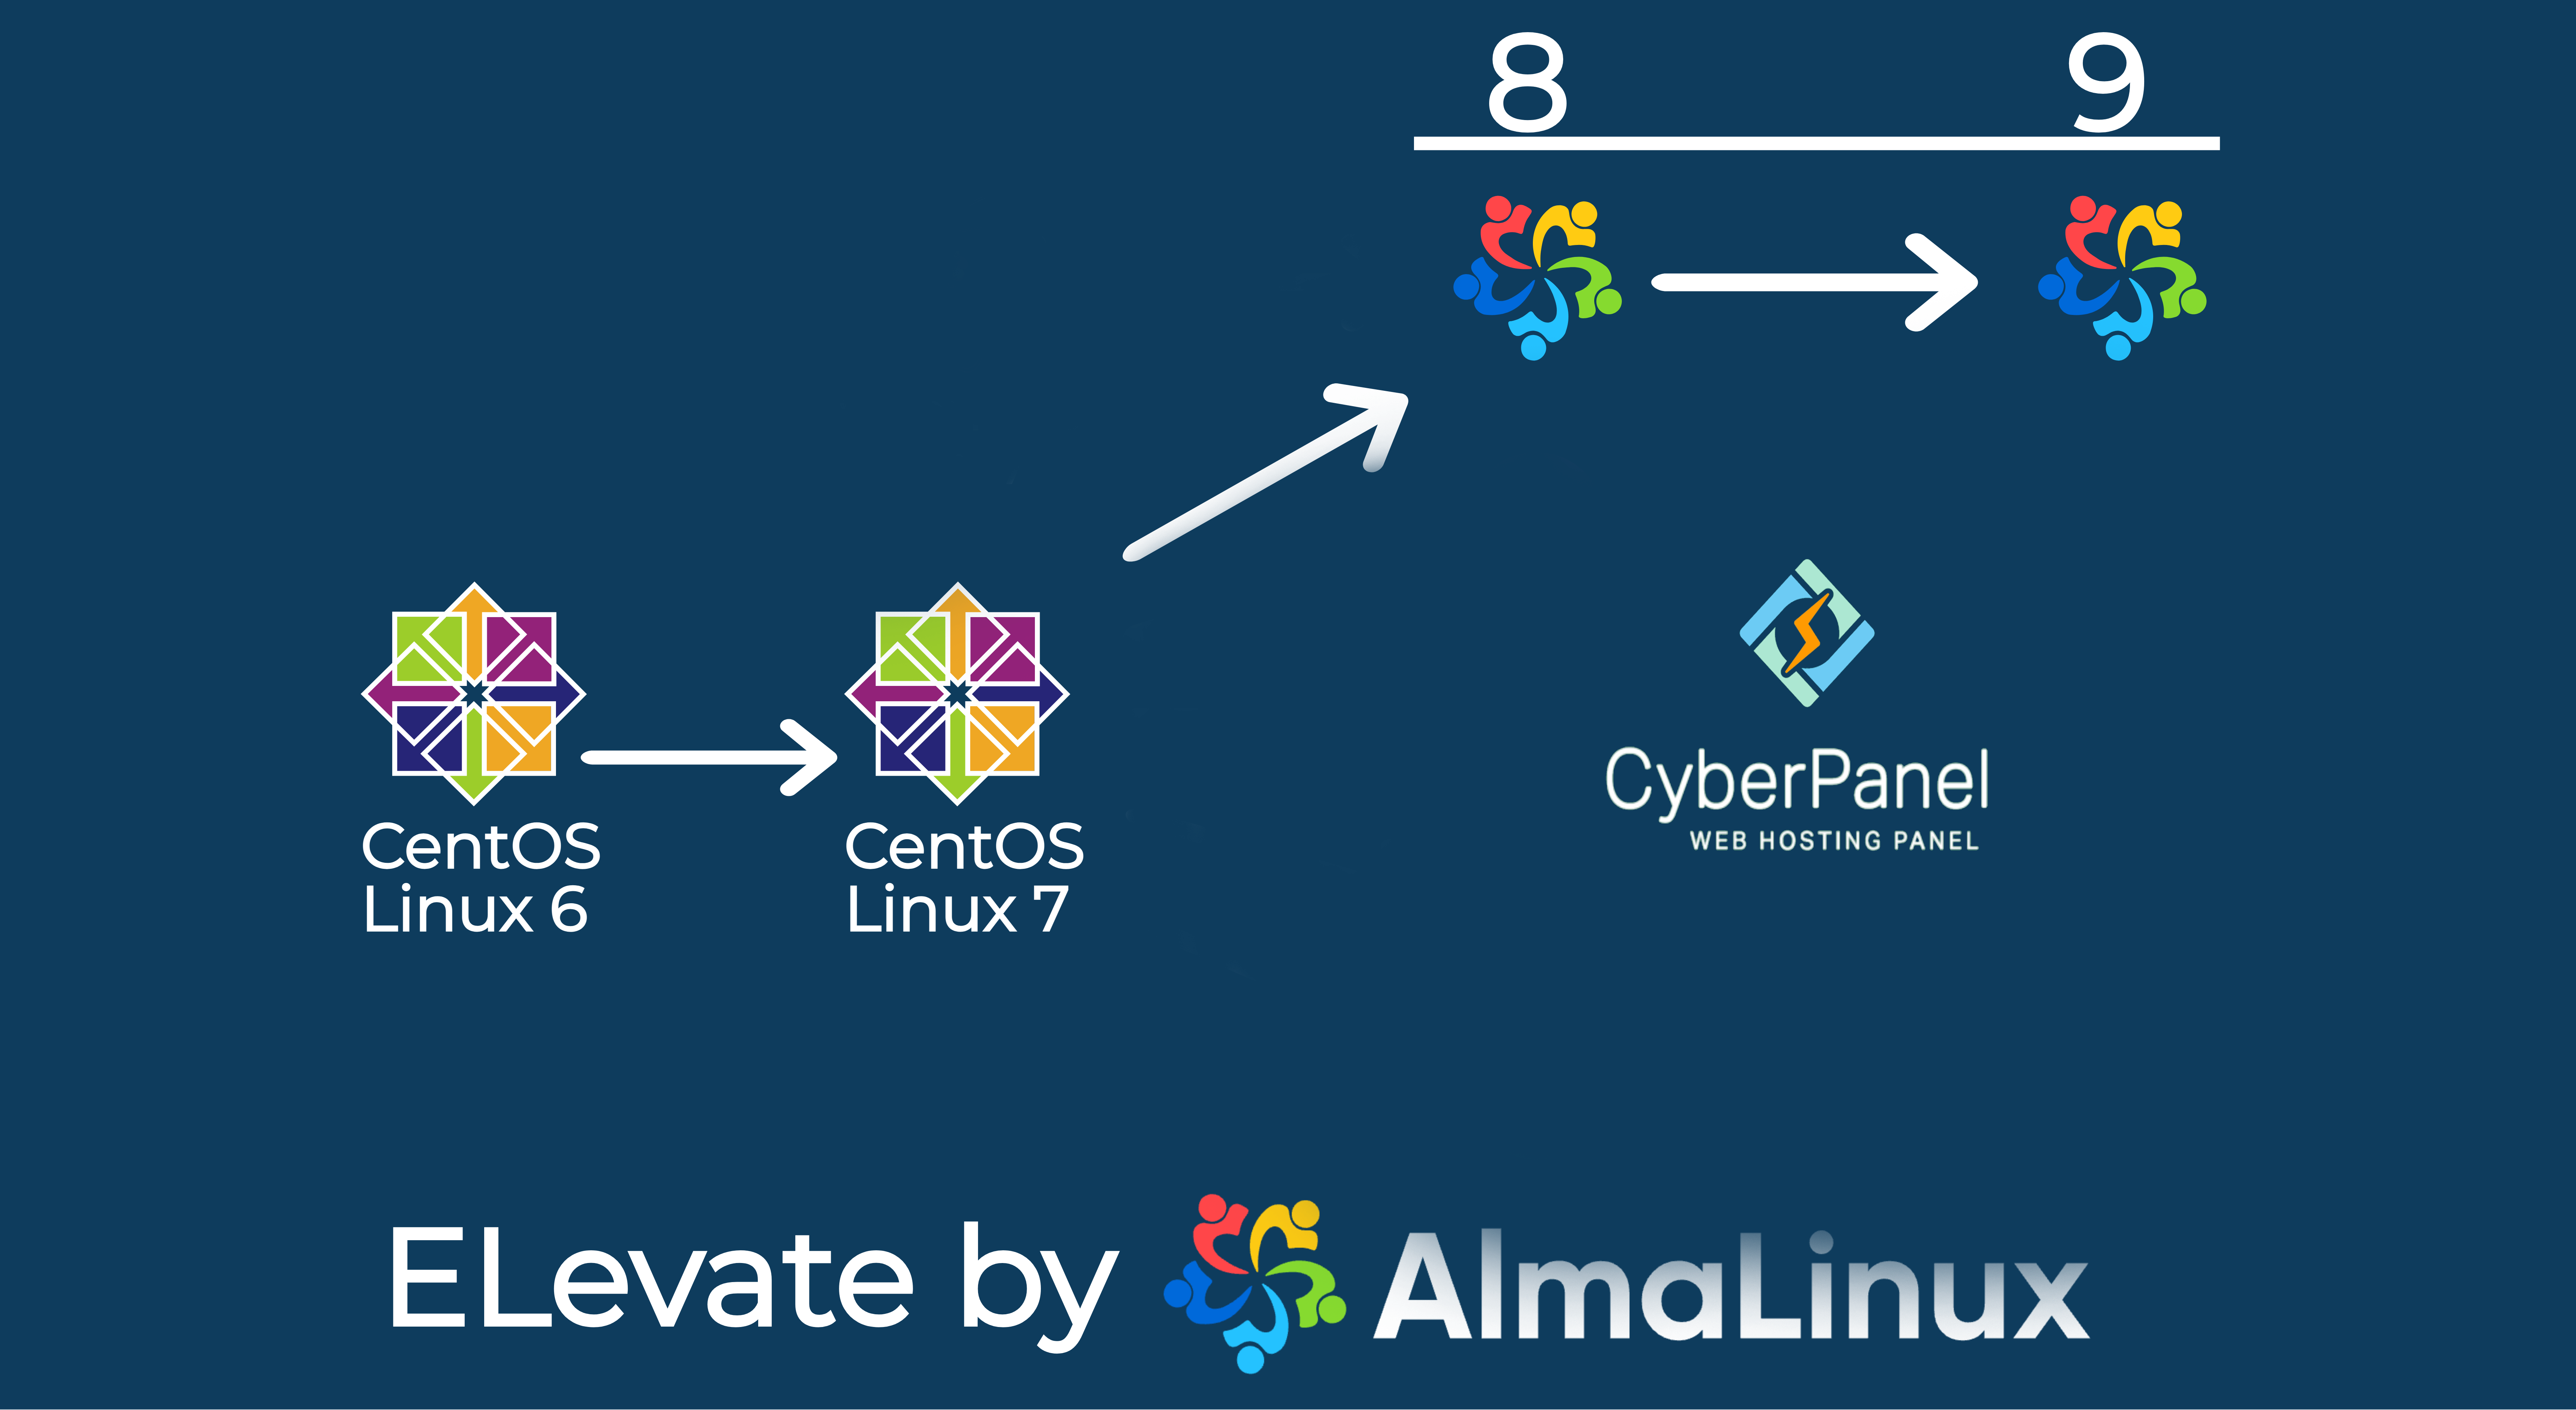
CyberPanel’s Role: CyberPanel is a powerful web hosting control panel that simplifies server management. It supports OpenLiteSpeed, making it an ideal choice for those looking to combine performance with ease of use. Migrating your CyberPanel setup from CentOS 7 to AlmaLinux 9 ensures you stay up-to-date with the latest technologies while maintaining your server’s security and performance.
Backup Your Data: Before starting the upgrade, ensure that all your data, including websites, databases, and configurations, is backed up. This is crucial as the upgrade process involves significant changes to the operating system.
Check Compatibility: Not all applications and scripts that run on CentOS 7 may be compatible with AlmaLinux 9. Check the compatibility of your critical services, especially custom scripts, and any software that may have dependencies tied to CentOS 7.
Plan for Downtime: The upgrade process will likely require some downtime. Inform your clients or users ahead of time and plan for the migration during a low-traffic period.
Enhanced Security: AlmaLinux 9 comes with the latest security features and updates, providing a more secure environment compared to the outdated CentOS 7.
Better Performance: AlmaLinux 9 is optimized for modern hardware and software, offering improved performance and efficiency. This can lead to faster load times for websites and applications hosted on your server.
Long-Term Support: AlmaLinux 9 promises long-term support, ensuring your server remains up-to-date and secure for years to come.
Active Community and Support: AlmaLinux has a vibrant and active community, along with commercial support options, ensuring you can find help when needed.
System Requirements: Ensure that your server meets the system requirements for AlmaLinux 9. This includes sufficient disk space, CPU, and RAM to handle the new operating system and CyberPanel.
Software Updates: Before upgrading, update all installed packages on your CentOS 7 system to the latest versions to minimize potential conflicts during the migration process.
Custom Configurations: Make note of any custom configurations you’ve made on CentOS 7. After the upgrade, you may need to reapply these settings to ensure everything functions as expected on AlmaLinux 9.
Dependency Issues: During the upgrade, you might encounter dependency issues due to differences in package versions between CentOS 7 and AlmaLinux 9. Be prepared to troubleshoot or adjust package configurations.
Service Compatibility: Some services or applications might not start correctly after the upgrade due to compatibility issues. Testing your environment in a staging area before migrating the production server is a good practice.
This walkthrough is based on the following tutorial: https://wiki.almalinux.org/elevate/ELevating-CentOS7-to-AlmaLinux-9.html#migrating-almalinux-8-to-almalinux-9
Centos 7
CRITICAL – backup lsws configs
You will need to restore this after the upgrade since through the elevation process, openlitespeed is removed and reinstalling will overwrite your main configuration and your sites won’t load.
sudo zip -r /root/lsws_config.zip /usr/local/lsws/conf
Also backup these files, you can restore these after but make sure to review first (before restore) because packages will be updated and some may carry different configurations.
Clean up residual files which are downloaded when compiling php.
sudo rm -rf /usr/local/lsws/phpbuild/*.tgz
sudo rm -rf /usr/local/lsws/phpbuild/*.tar.gz
sudo find /usr/local/lsws/phpbuild/ -mindepth 1 -type d -exec rm -rf {} +
Now Backup
sudo zip -r /el7-system_files.zip /etc/ /usr/local/lsws/
Backup all websites just in case
Backup all databases just in case
Every upgrade removes mariadb but the db files do remain, backups are always a precaution
We will remove the CentOS 7 repo as this is moved to archive and will replace it with the archived version so the repo works.
sudo mv /etc/yum.repos.d/CentOS-Base.repo /etc/yum.repos.d/CentOS-Base.repo.bak
sudo wget -q -O /etc/yum.repos.d/CentOS-Base.repo https://sajetekengineering.com/wp-content/uploads/cyberpanel/CentOS-7-Base.repo
sudo yum update -y
sudo reboot
Download packages and prepare for elevation
sudo yum install -y http://repo.almalinux.org/elevate/elevate-release-latest-el$(rpm --eval %rhel).noarch.rpm
sudo yum install -y leapp-upgrade leapp-data-almalinux
sudo leapp preupgrade
Read /var/log/leapp/leapp-report.txt for fixes
Focus on inhibitors only as these are required to proceed
Common fixes are as follows but make sure to review yours for inhibitors
sudo rmmod pata_acpi
sudo echo PermitRootLogin yes | sudo tee -a /etc/ssh/sshd_config
sudo leapp answer --section remove_pam_pkcs11_module_check.confirm=True
For any NFS mounted, simply comment out any NFS mounts in /etc/fstab and temporarily disable nfs-server, stop the nfs-server and reboot then rerun the preupgrade.
A reboot is necessary.
sudo service nfs-server stopsudo systemctl disable nfs-serversudo reboot
If your leapp upgrade fails due to “Failed to create directory /var/lib/leapp/el8userspace//sys/fs/selinux: Read-only file system” See the fix HERE.
If leap upgrade fails, check /var/log/leapp/leap-upgrade.log for “Error: Transaction test error:” near the bottom of the file for conflicting packages and remove them
make sure to keep track of packages you remove
CRITICAL – Based off of This Solution
We will list the configuration file.
ls /etc/ld.so.conf.d/For each .conf file in the list, e.g. /etc/ld.so.conf.d/custom-libs.conf show the contents by command “cat /etc/ld.so.conf.d/custom-libs.conf “
Any file that has a path not in “/usr/{lib64,lib}/” e.g. /usr/local/lib64 etc move the .conf file to a backup location
e.g.mkdir /root/ld-backupmv /etc/ld.so.conf.d/custom-libs.conf /root/ld-backup
Change custom-libs.conf to the name of each file that contains library location outside of “/usr/{lib64,lib}/“
ldconfig
Now check to make sure the library does not contain any custom library paths like “/usr/local/lib64“
ldconfig -p -N -X | grep "/usr/local/lib64"Once You confirm there are no custom library locations, you are free to proceed or your system may hang at reboot.
Once your preupgrade has no more inhibitors, then proceed
sudo leapp upgradesudo reboot
(This will take some time as your server will be upgrading packages in the background but it will not be accessible)
You can monitor if you have access to a KVM
Time is dependent on Server’s power.
AlmaLinux 8
Check OS version
sudo cat /etc/os-releaseRun the following to fix Python
alternatives --set python /usr/bin/python3sudo yum -y install python3-devel
Remove the following packages
sudo yum remove -y "lsphp*" python2-leapp make-devel
Run the below command to modify /etc/yum.conf and /etc/dnf/dnf.conf to remove everything from the exclude line especially that refers to elevate or leapp.
sudo sed -i -E "s/exclude=.*/exclude=/g" /etc/yum.conf /etc/dnf/dnf.conf
List all the packages from Centos repos. You will need to remove for now and reinstall the updated packages later on
sudo rpm -qa | grep el7 > /root/Almalinux8_el7_packages.txt
The command below will remove all packages listed from the above command. The list is backed up to /root/Almalinux8_e17_packages.txt
sudo rpm -qa | grep el7 | xargs
sudo dnf remove -y
Run the following 2 commands which will list some packages. You will need to remove those packages.
rpm -qa | grep elevaterpm -qa | grep leapp
Remove previous leapp clutter and cleanup
sudo rm -fr /root/tmp_leapp_py3sudo dnf clean all
List CentOS 7 Keys to be removed
sudo rpm -q gpg-pubkey --qf '%{NAME}-%{VERSION}-%{RELEASE}\t%{SUMMARY}\n'The command below will remove all the keys listed above.
sudo rpm -q gpg-pubkey --qf '%{NAME}-%{VERSION}-%{RELEASE}\n' | xargs -I {}
sudo rpm -e {}
sudo yum update -ysudo reboot
sudo yum install -y http://repo.almalinux.org/elevate/elevate-release-latest-el$(rpm --eval %rhel).noarch.rpmsudo yum install -y leapp-upgrade leapp-data-almalinuxsudo reboot
sudo leapp preupgradeThere should be errors so check /var/log/leapp/leapp-report.txt
If you encounter packages that cannot be removed but is required to be removed to upgrade:
Set crypto policies to legacy temporarily. Read More
update-crypto-policies --set LEGACYTo switch back after upgrade to AlmaLinux 9:
update-crypto-policies --set DEFAULT
Remove the problematic packages in inhibitors – make sure to backup the list for future reference
Command added below from my run but make sure to check your leapp report for accuracy: /var/log/leapp/leapp-report.txt
sudo yum -y remove libipt lux-release plocate giflib ppp network-scripts-ppp libpipeline socatsudo sed -i "s/^AllowZoneDrifting=.*/AllowZoneDrifting=no/" /etc/firewalld/firewalld.confsudo leapp answer --section check_vdo.no_vdo_devices=True
You might also find the following issue in the leapp-report file that can interfere with the upgrade. Consider removing the file:
Network configuration for unsupported device types detected
Summary: RHEL 9 does not support the legacy network-scripts package that was deprecated in RHEL 8 in favor of NetworkManager. Files for device types that are not supported by NetworkManager are present in the system. Files with the problematic configuration:
– /etc/sysconfig/network-scripts/ifcfg-eth0
If needs be, backup and remove the above file.
sudo rebootsudo leapp preupgrade
Read /var/log/leapp/leapp-report.txt for fixes
Focus on inhibitors as done before then rerun preupgrade
sudo dnf clean allIf leap upgrade fails, check /var/log/leapp/leap-upgrade.log for “Error: Transaction test error:” near the bottom of the file for conflicting packages and remove them
Make sure to keep track of packages you remove
sudo leapp upgradesudo reboot
AlmaLinux 9
Backup some repos, remove incompatible packages, update and reboot.
sudo mv /etc/yum.repos.d/powerdns-auth-43.repo /etc/yum.repos.d/powerdns-auth-43.repo.bak
sudo mv /etc/yum.repos.d/MariaDB.repo /etc/yum.repos.d/MariaDB.repo.bak
sudo dnf remove -y libzip-devel nss_db qemu-kvm-common libtirpc-devel
sudo dnf -y update
sudo reboot
Install mariadb – Source
sudo curl -sS https://downloads.mariadb.com/MariaDB/mariadb_repo_setup | sudo bashsudo yum -y install MariaDB-server MariaDB-clientsystemctl enable mariadbservice mariadb startsudo mariadb-upgrade
To fix libpython3.6m.so.1.0 error in Cyberpanel, we port the CyberPanel directory from an AlmaLinux system so we don’t have to recreate symlinks. AlmaLinux 9 uses python 3.9 but AlmaLinux 8 uses python 3.6
pip install --upgrade pip
sudo wget -q -O /root/CyberPanel-Al9-symlinks.zip "https://sajetekengineering.com/wp-content/uploads/cyberpanel/CyberPanel-Al9-symlinks.zip"
sudo mv /usr/local/CyberPanel /usr/local/CyberPanel.bak; mv /usr/local/CyberCP/bin /usr/local/CyberCP/bin.bak; mv /usr/local/CyberCP/lib /usr/local/CyberCP/lib.bak; mv /usr/local/CyberCP/include /usr/local/CyberCP/include.bak; unzip /root/CyberPanel-Al9-symlinks.zip -d /; rm -f /root/CyberPanel-Al9-symlinks.zip
sudo find /usr/local/CyberCP/ -type d -name __pycache__ -exec rm -r {} \+;
Upgrade cyberpanel as root user
sh <(curl https://raw.githubusercontent.com/usmannasir/cyberpanel/stable/preUpgrade.sh || wget -O - https://raw.githubusercontent.com/usmannasir/cyberpanel/stable/preUpgrade.sh)Upgrade cyberpanel as sudo user
sudo su – -c “sh <(curl https://raw.githubusercontent.com/usmannasir/cyberpanel/stable/preUpgrade.sh || wget -O – https://raw.githubusercontent.com/usmannasir/cyberpanel/stable/preUpgrade.sh)”
If you run into an error “ModuleNotFoundError: No module named ‘sleep'”sudo sed -i ‘s/import sleep/from time import sleep/g’ /root/cyberpanel_upgrade_tmp/upgrade.pysudo chattr +i /root/cyberpanel_upgrade_tmp/upgrade.py#rerun upgrade script
sudo chattr -i /root/cyberpanel_upgrade_tmp/upgrade.pysudo rm -rf /root/cyberpanel_upgrade_tmp
Upgrade openlitespeed
sudo /usr/local/lsws/admin/misc/lsup.sh -v 1.8.2Restore the backup we made before elevating
sudo unzip -o /root/lsws_config.zip -d /sudo chown -R lsadm:lsadm /usr/local/lsws/confsudo service lsws restart
Install litespeed repo
sudo rpm -Uvh http://rpms.litespeedtech.com/centos/litespeed-repo-1.1-1.el8.noarch.rpm
sudo rpm -i https://rpmfind.net/linux/remi/enterprise/9/remi/x86_64/oniguruma5php-6.9.9-1.el9.remi.x86_64.rpm
sudo dnf install https://rpms.remirepo.net/enterprise/remi-release-9.rpm
sudo dnf clean packages
Reinstall lsphp and it’s extensions – AlmaLinux 9 Supports php74 upwards
You can review /root/Almalinux8_e17_packages.txt to see what packages were installed or use my install commands below
sudo dnf -y install lsphp74 lsphp74-bcmath lsphp74-common lsphp74-dba lsphp74-devel lsphp74-enchant lsphp74-gd lsphp74-gmp lsphp74-imap lsphp74-intl lsphp74-json lsphp74-ldap lsphp74-mbstring lsphp74-mysqlnd lsphp74-odbc lsphp74-opcache lsphp74-pdo lsphp74-pear lsphp74-pecl-igbinary lsphp74-pecl-mcrypt lsphp74-pecl-memcached lsphp74-pecl-msgpack lsphp74-pecl-redis lsphp74-pgsql lsphp74-process lsphp74-pspell lsphp74-snmp lsphp74-soap lsphp74-sodium lsphp74-tidy lsphp74-xml lsphp74-xmlrpc --skip-brokensudo dnf -y install lsphp80 lsphp80-bcmath lsphp80-common lsphp80-dba lsphp80-devel lsphp80-enchant lsphp80-gd lsphp80-gmp lsphp80-imap lsphp80-intl lsphp80-json lsphp80-ldap lsphp80-mbstring lsphp80-mysqlnd lsphp80-odbc lsphp80-opcache lsphp80-pdo lsphp80-pear lsphp80-pecl-igbinary lsphp80-pecl-mcrypt lsphp80-pecl-memcached lsphp80-pecl-msgpack lsphp80-pecl-redis lsphp80-pgsql lsphp80-process lsphp80-pspell lsphp80-snmp lsphp80-soap lsphp80-sodium lsphp80-tidy lsphp80-xml lsphp80-xmlrpc --skip-brokensudo dnf -y install lsphp81 lsphp81-bcmath lsphp81-common lsphp81-dba lsphp81-devel lsphp81-enchant lsphp81-gd lsphp81-gmp lsphp81-imap lsphp81-intl lsphp81-json lsphp81-ldap lsphp81-mbstring lsphp81-mysqlnd lsphp81-odbc lsphp81-opcache lsphp81-pdo lsphp81-pear lsphp81-pecl-igbinary lsphp81-pecl-mcrypt lsphp81-pecl-memcached lsphp81-pecl-msgpack lsphp81-pecl-redis lsphp81-pgsql lsphp81-process lsphp81-pspell lsphp81-snmp lsphp81-soap lsphp81-sodium lsphp81-tidy lsphp81-xml lsphp81-xmlrpc --skip-brokensudo dnf -y install lsphp82 lsphp82-bcmath lsphp82-common lsphp82-dba lsphp82-devel lsphp82-enchant lsphp82-gd lsphp82-gmp lsphp82-imap lsphp82-intl lsphp82-json lsphp82-ldap lsphp82-mbstring lsphp82-mysqlnd lsphp82-odbc lsphp82-opcache lsphp82-pdo lsphp82-pear lsphp82-pecl-igbinary lsphp82-pecl-mcrypt lsphp82-pecl-memcached lsphp82-pecl-msgpack lsphp82-pecl-redis lsphp82-pgsql lsphp82-process lsphp82-pspell lsphp82-snmp lsphp82-soap lsphp82-sodium lsphp82-tidy lsphp82-xml lsphp82-xmlrpc --skip-brokensudo dnf -y install lsphp83 lsphp83-bcmath lsphp83-common lsphp83-dba lsphp83-devel lsphp83-enchant lsphp83-gd lsphp83-gmp lsphp83-imap lsphp83-intl lsphp83-json lsphp83-ldap lsphp83-mbstring lsphp83-mysqlnd lsphp83-odbc lsphp83-opcache lsphp83-pdo lsphp83-pear lsphp83-pecl-igbinary lsphp83-pecl-mcrypt lsphp83-pecl-memcached lsphp83-pecl-msgpack lsphp83-pecl-redis lsphp83-pgsql lsphp83-process lsphp83-pspell lsphp83-snmp lsphp83-soap lsphp83-sodium lsphp83-tidy lsphp83-xml lsphp83-xmlrpc --skip-brokenBackup the same configuration files we backed up before elevation. This is to have a backup of the AlmaLinux 9 configs for comparison
sudo zip -r /root/el9-system_files.zip /etc/exports /etc/my.cnf /etc/hosts /etc/fstab /etc/dovecot /etc/postfix /etc/pure-ftpd /var/spool/cron /etc/ssmtp /etc/yum.conf /etc/csf /root/ /etc/nagios /etc/snmp /etc/ssh /etc/sudoers /etc/msmtprcReview and restore configuration files backup up in /el7-system_files.zip manually or as needed.
You may need to restore php configuration files. These are also backed up in /el7-system_files.zip where they are stored in /usr/local/lsws/lsphpx where “x” represents one of the versions.
Finally re-enable crypto policies if it was disabled
sudo update-crypto-policies --set DEFAULTsudo reboot
Enjoy CyberPanel on your Elevated AlmaLinux 9