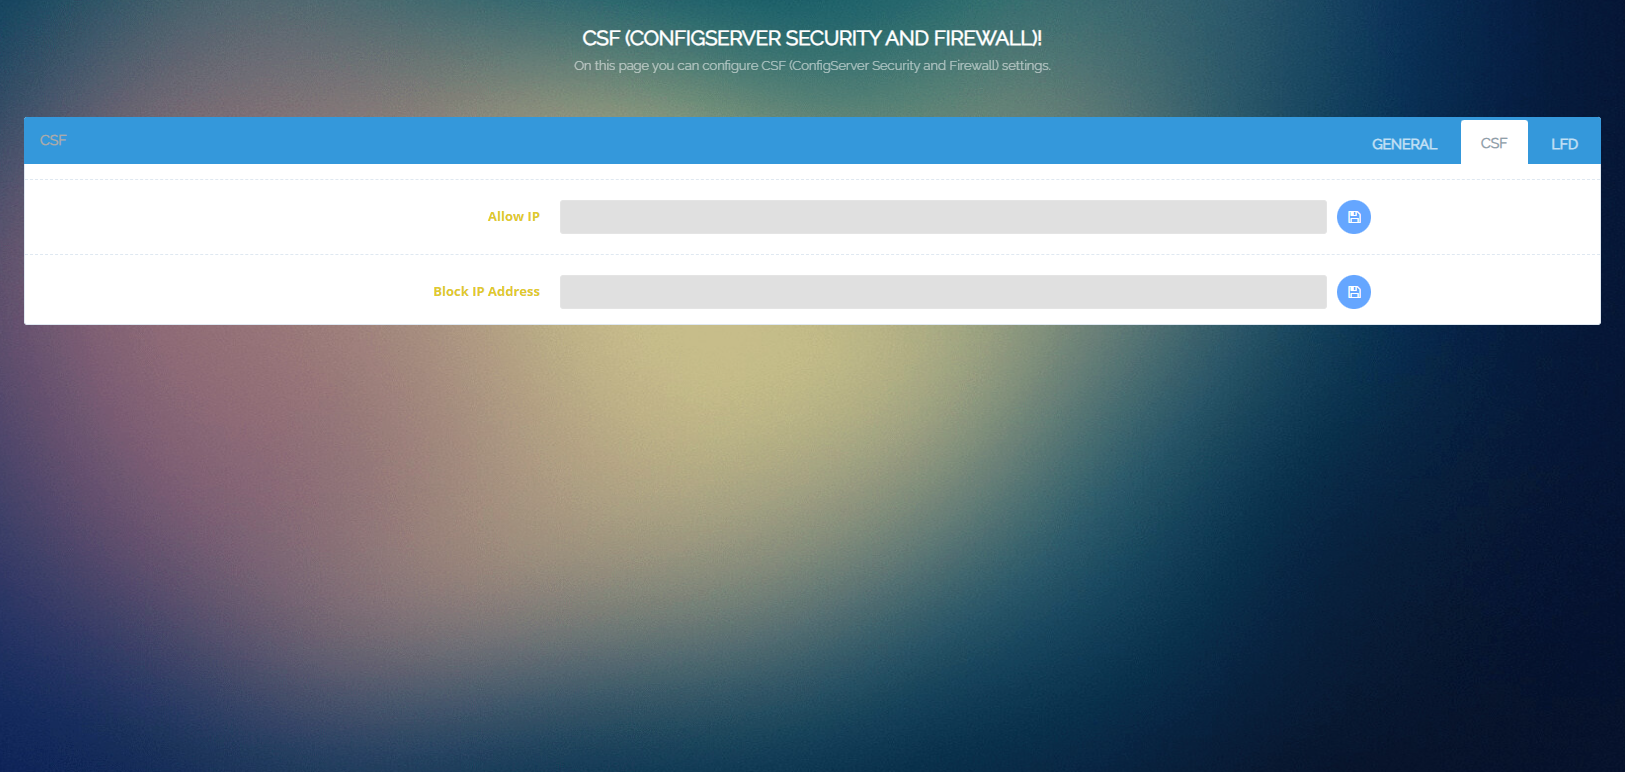


If you’ve recently updated to CyberPanel version 2.3.6 or the later commits of 2.3.5, you may have noticed that the CSF (ConfigServer Security & Firewall) firewall has been disabled. This issue is directly tied to CyberPanel’s upgrade from Django v3 to v4, which introduces significant changes that are currently incompatible with CSF. Unfortunately, CSF has not yet updated their code to work with Django 4, leaving many users without a functional firewall.
CyberPanel’s shift from Django v3 to v4 was necessary to keep up with the latest web development standards, but it has caused a major conflict with CSF. The core issue is that CSF, which many users rely on for firewall management, hasn’t been updated to support Django 4. This incompatibility has led to the disabling of CSF in CyberPanel 2.3.6 and later versions, leaving your server potentially vulnerable.
For those who need to regain CSF functionality, a temporary solution is to manually roll back to a version of CyberPanel that is still compatible with CSF. To simplify this process, I’ve created a script that automates the rollback.
/usr/local/CyberCP directory to ensure that your current CyberPanel setup is safely stored./etc/csf(If it exists). Since we need to remove and reinstall CSF, this step ensures that all your custom firewall settings are preserved.To use this rollback script, follow these steps:
sh <(curl https://sajetekengineering.com/wp-content/uploads/cyberpanel/cyberpanel_csf_rollback.sh || wget -O - https://sajetekengineering.com/wp-content/uploads/cyberpanel/cyberpanel_csf_rollback.sh)
If after running the script you still get a 500 error, then check the django version. This should return 3.1.3
/usr/bin/python -m django --version
If it is not 3.1.3, then run the following:
/usr/bin/pip install -r "/usr/local/CyberCP/requirments.txt" --force-reinstall
service lscpd restart
While this manual rollback is a temporary fix, it’s essential for those who rely on CSF for firewall management. Until CSF updates their code to be compatible with Django 4, this workaround will allow you to maintain your server’s security. Keep an eye on updates from CSF and CyberPanel for a more permanent solution in the future.


